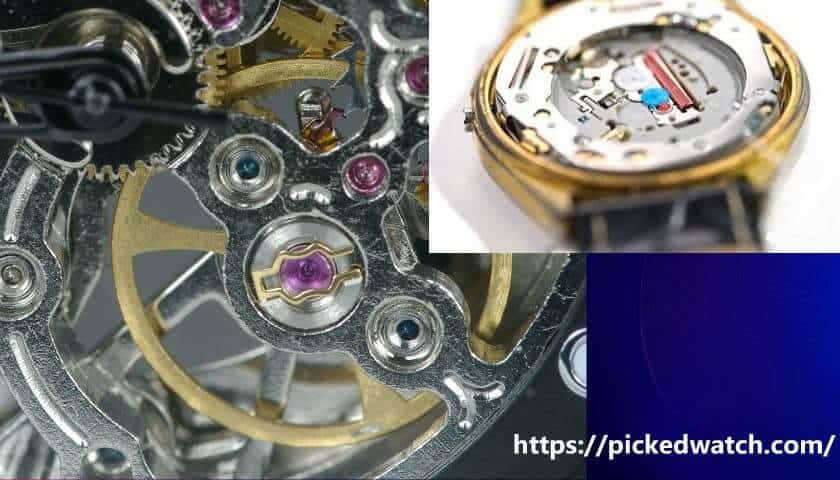
How to Waterproof a Watch | Let’s find out the answer!
As an Amazon Associate, I earn from qualifying purchases.
A thorough explanation of how to waterproof a watch will be super helpful because a plastic bag will certainly not help.
Some timepieces can be worn even when they are submerged in water. Some can withstand only a few splashes of water, and some of them might break when exposed to water. So, it can be said that some are more water-resistant, while others are less water-resistant.
When the water leaks into the inside of the timepiece, it disrupts its functioning, and it ends up breaking. It may or may not be repairable because the intensity of the damage cannot be told.
Even then, some of them may work perfectly fine even when used while swimming and snorkeling. This is because they have a high level of water-resistance. Ultimately, no timepiece is completely water repellent. They have different levels of water-resistance.
History of Waterproof Watches
It is important to understand that the concept of “waterproofing” was disregarded in the 1960s. This is because timepieces cannot truly be water repellent. Even the best waterproof-watches are not completely water repellent. The water is capable of harming the mechanics of a timepiece. Hence it is wrong to claim that it is “waterproof.” However, the concept of “water-resistance” is much more real and practical.
Water-Resistance of Watches
Different timepieces have different levels of water-resistance, ranging from 30m to 200m or even more. Some may be able to sustain only a splash of water. Some work well even underwater.
Exceeding the limit of the water-resistance of timepieces will definitely cause damage. It is because the water will definitely leak through. Once the water damages the timepiece’s mechanism, you don’t know whether it can be reverted or not.
So, there is a huge difference between waterproof watches and water-resistant watches. A timepiece cannot be completely waterproof. However, it can have different levels of water resistance.
How to tell if a watch is waterproof?
The back of your timepiece or timepiece (commonly known as watch face) has the level of water-resistance written or engraved. It may show the level of water-resistance through bars, in meters, or in feet. By reading that, you will be able to tell the level of water-resistance. If there is no inscription or engraving, then it is not water repellent.
Top 10 Easy Steps for Waterproof Watches
These 10 quick and easy steps will help you learn how to reseal timepieces. So, let’s have a look at them!
Make sure to have the following things in hand before getting started with the process.
Parts and Tools Needed:
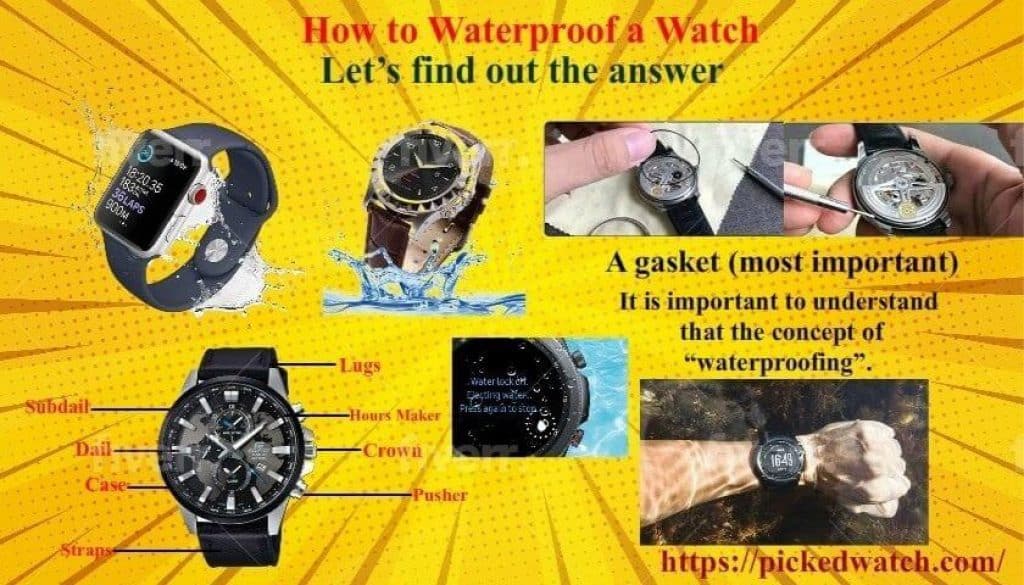
- A gasket (most important)
- Silicone oil
- Q-tips or cotton buds
- Ultraviolet epoxy
- Tweezers (These are optional but keep them to ensure precision)
Step 1: Removing the watch face and replacing the battery
First, you need to remove the face. Then, you need to carry out the process of water repellent battery replacement. Changing a battery will allow you to know whether the timepiece works or not.
When you are sure that it works fine, you need to remove the hardware one by one. Set all the pieces of the hardware aside on a surface that is clean.
Quick Tip: Be careful with the screwdriver so that scratches are prevented!
Step 2: Removal of the gasket
After using a timepiece for years, you will observe that its gasket will become worn out. It will not be elastic anymore. It will not perform really well in catching the unwanted materials such as dirt and debris. So, you must remove this old buddy!
Quick Tip: After removing the gasket, clean any dirt or debris that there may be.
Step 3: Replacing the old gasket with a new one
Rubbing the new gasket with Silicone oil: This is a crucial step! You need to replace the old gasket with a new one. So, take the new gasket and dip it in silicone oil. You can simply rub the oil on the gasket. Make sure to clean off the excess and then place the gasket back into the body.
Putting the new gasket into place: When twisting the gasket into its place, make sure that you are following the timepiece’s mechanism. Don’t apply too much pressure with the hand. To ensure precision, you can grab a pair of tweezers. Then you can precisely put the gasket in its place.
For your knowledge: Silicone oil is essential for resealing because of the simple science that we know “water and oil don’t mix.” The silicone oil keeps the moisture out.
Step 4: Cleaning the case of the watch
This step is all about cleanliness! We surely don’t want any dirt or debris. So, with the help of a Q-tip or a cotton bud dipped in silicone oil, clean the case of the timepiece and back. Get rid of the dirt.
Step 5: Cleaning the stem and crown
In this step, clean the crown along with the Q-tip.
Quick Tip: Have a look at the crown; if you find it damaged, then don’t forget to replace it before you move on to the next step.
Step 6: Putting the stem and crown back in place
You will again use the silicone oil to put the stem and crown back in place. Rub the stem and crown with silicone oil, and you will be able to easily put them back.
Step 7: Examine the crystal for cracks
Again, you will need a Q-tip dipped in silicone oil to clean the crystal. While you are cleaning the crystal, you must examine for any cracks. If you come across cracks, then you will have to replace the crystal. If not, then you can move on to the next step.
Step 8: Gluing or resealing the crystal and the case
This is another crucial step in the whole process. To reseal or glue, you will need ultraviolet epoxy, and it will get the job done. Put the ultraviolet epoxy around the crystal and the case. Be very careful when doing this!
The last thing for this step is to make sure that you dry the ultraviolet epoxy at room temperature.
Quick Tip: Make sure to use only a little amount. So, you are able to seal any imperfections in the gasket.
Step 9: Putting the watch face back
Now, all you need to do is to get rid of the excess epoxy. If there is any, place removes it and then close the timepiece. You have to make sure that all the pieces are fit together.
By following all these 9 steps up till now, you will have a waterproof watch at home (not completely though).
Step 10: Testing the waterproofing or water-resistance
Optional Step: This step is optional, but if you intend to do it, then you can certainly go ahead. To test the resealing or water-resistance of the timepiece, you will need a waterproof-tester. The tester will tell you the level of water resistance.
It is usually said that by following this method, water-resistance up to three bars can be achieved.
You may be interested in: How to Remove Scratches from watch
Waterproof-Tester for Watches
Waterproof/Reseal tester may cost a couple hundred dollars or more. If you intend to reseal your timepieces on your own, then you can invest in them. It may be financially beneficial for you to do it for your timepiece on your own. Getting professional help can be expensive.
Also, if you own a lot of timepieces and intend to reseal them on your own, then a tester is a good investment.
Impact of Salt Water on Watches
Keep in mind that salt water is harmful to timepieces. Once you have exposed your timepiece to saltwater, be sure to wash it with fresh water to get rid of the salty water.
Wrap up!
Resealing can be done at home. By following the above-mentioned steps, you should be able to easily do it. You will not need to pay hefty amounts of money to professionals.
Let’s get the process started!
As an Amazon Associate, I earn from qualifying purchases.

- Do Smartwatches Need Data Plans | All Things to know - July 14, 2022
- How to Charge Apple Watch Without Charger - July 10, 2022
- The 7 Best Smartwatches for Small Wrists | 2022 Ultimate Guide - March 5, 2022